We’ve come to the end of the knitalong! Thanks to Stitchcraft Marketing and Knitter’s Pride for the awesome prizes, and to all the knitters who joined in on Ravelry! Scroll down to the bottom for a BONUS ROUND PRIZE!
Today I’ve got another photo tutorial for you – on blocking your finished Just Enough Ruffles or Just Enough Ruffles Light!
I know blocking can sound intimidating, particularly for newer knitters, but it’s really not hard – and it makes SUCH a huge difference in the quality of your finished piece! It really is like magic, but it doesn’t have to be complicated. For many projects, a simple soak and lay flat to dry is all you need. The soak allows the fibers to relax and bloom, and you can shape the damp piece so it dries the way you want.
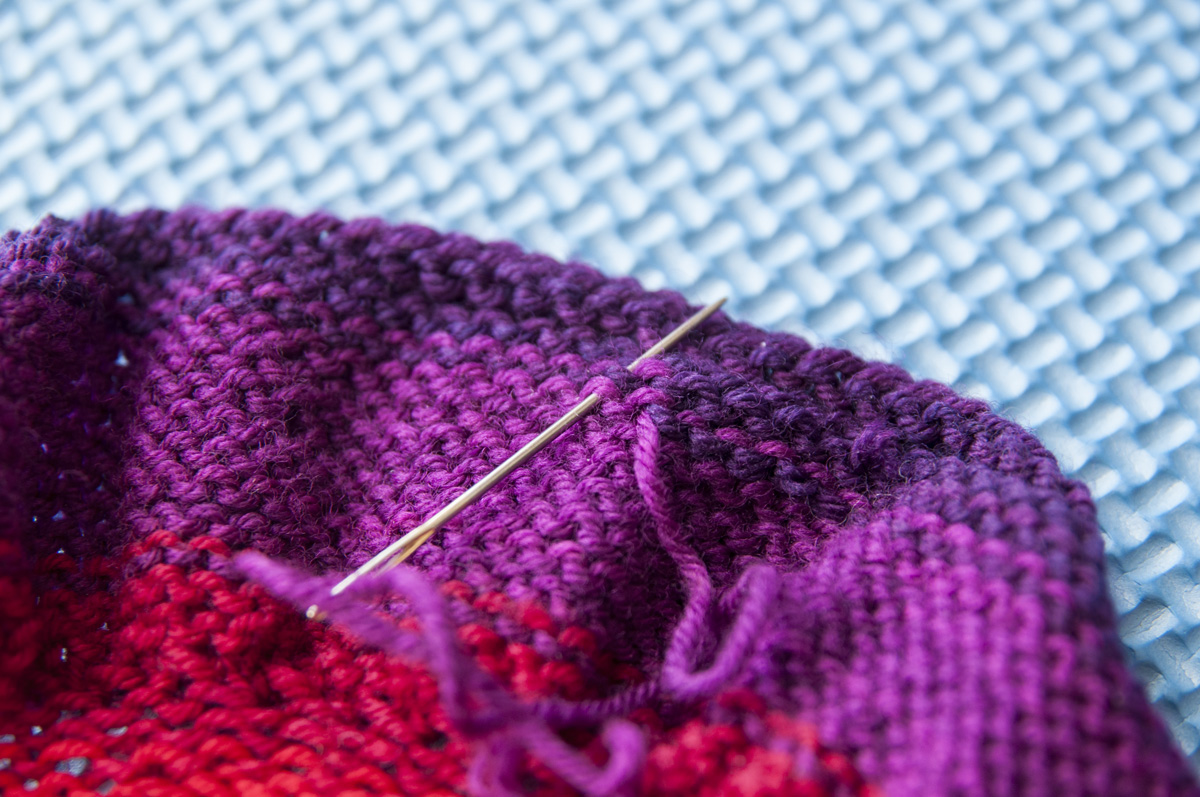
First, weave in your ends. I like this article from Knitty! For scarves and reversible items, you’ll want to follow the stitches as closely as possible so they’re nice and neat. I clip the ends at this point, but depending on the project you might want to leave them a little longer to trim after it’s dry.
Gather up your blocking stuff – a bowl (or sink), some Eucalan or other wool wash, blocking mats (or a towel) and some pins, if needed.

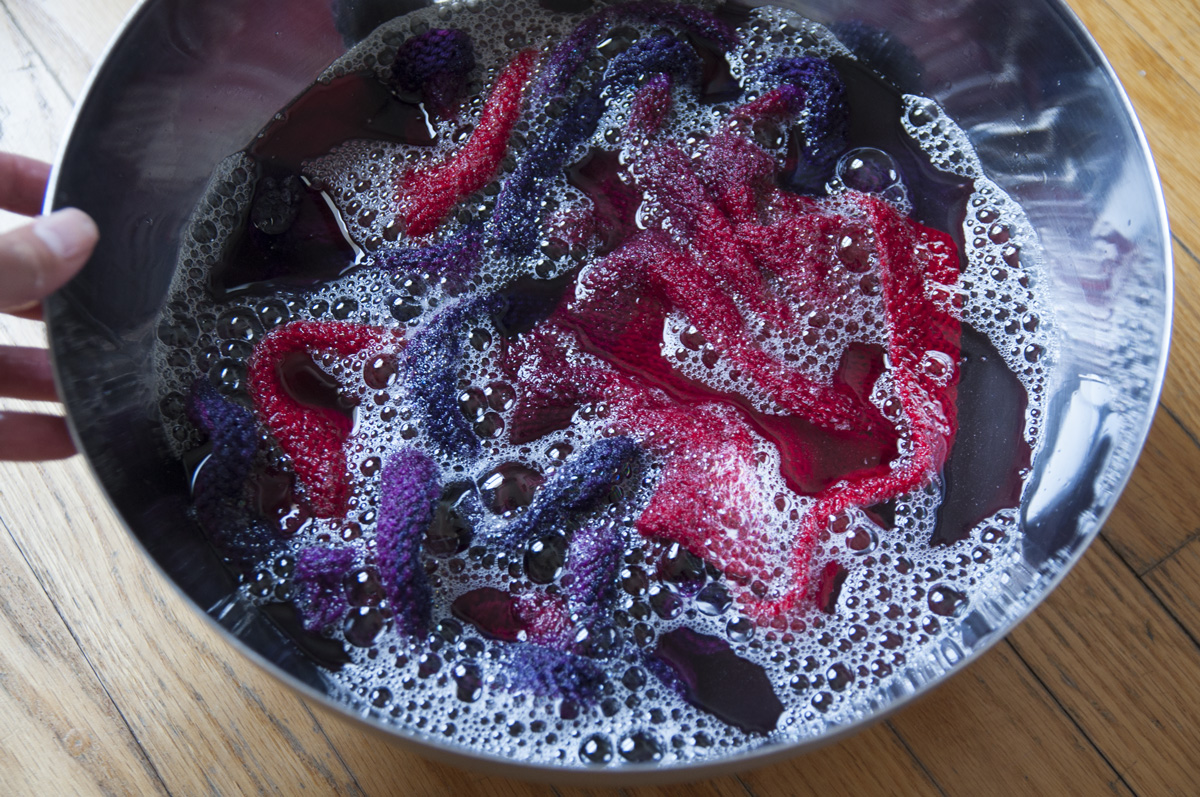
Tepid water is usually recommended, but sometimes I break rank and use warm water. As long as it’s not like, scalding hot, you’ll be ok! Add some wool wash and get the knitting in there. Wool resists absorbing water, so you’ll need to hold it under until it gets wet and sinks. Leave it for at least 10 minutes or so to relax.
Carefully dump out the water and gather up the piece as best you can in your hands. Press it to release the majority of the water, but don’t twist or wring it. Then to get even more water out, lay it out on a towel (it can be haphazard, but should be in a single layer), roll it up and walk on it! No shoes, please.
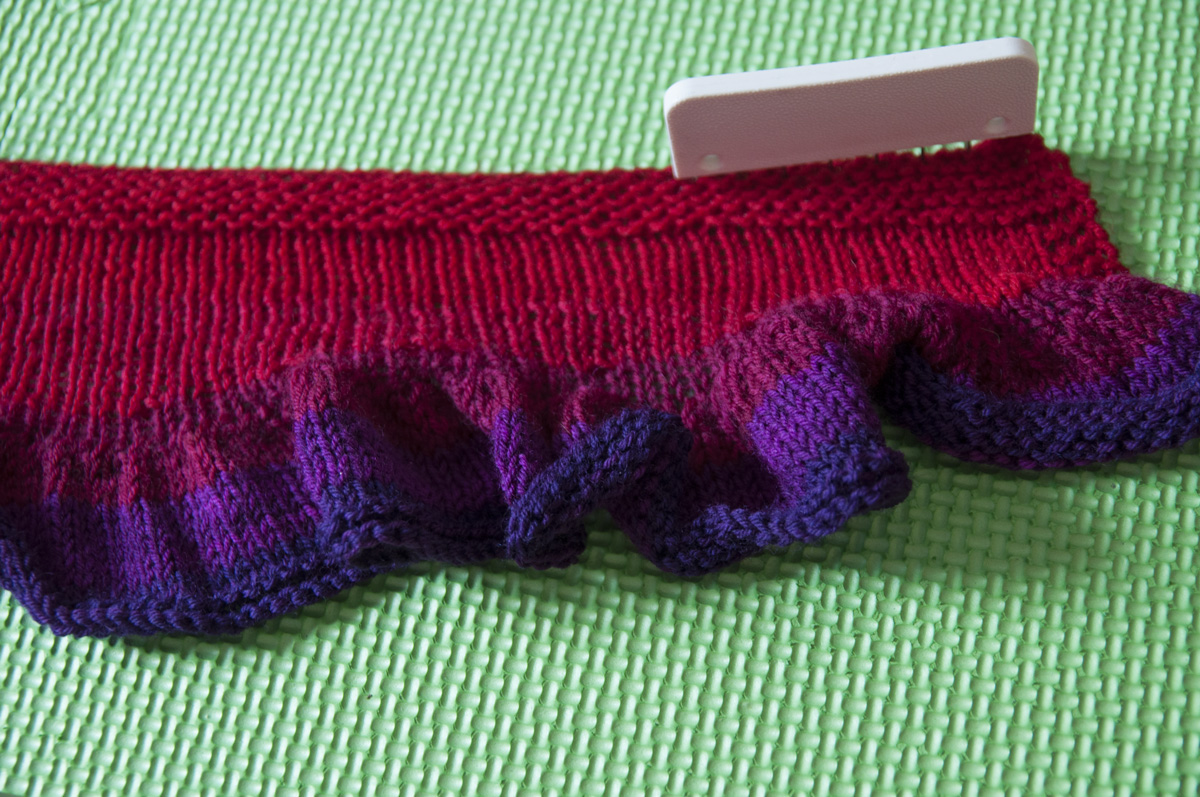
Once you’ve gotten most of the water out, lay your piece on some blocking mats (these are from Knitter’s Pride) or a towel.
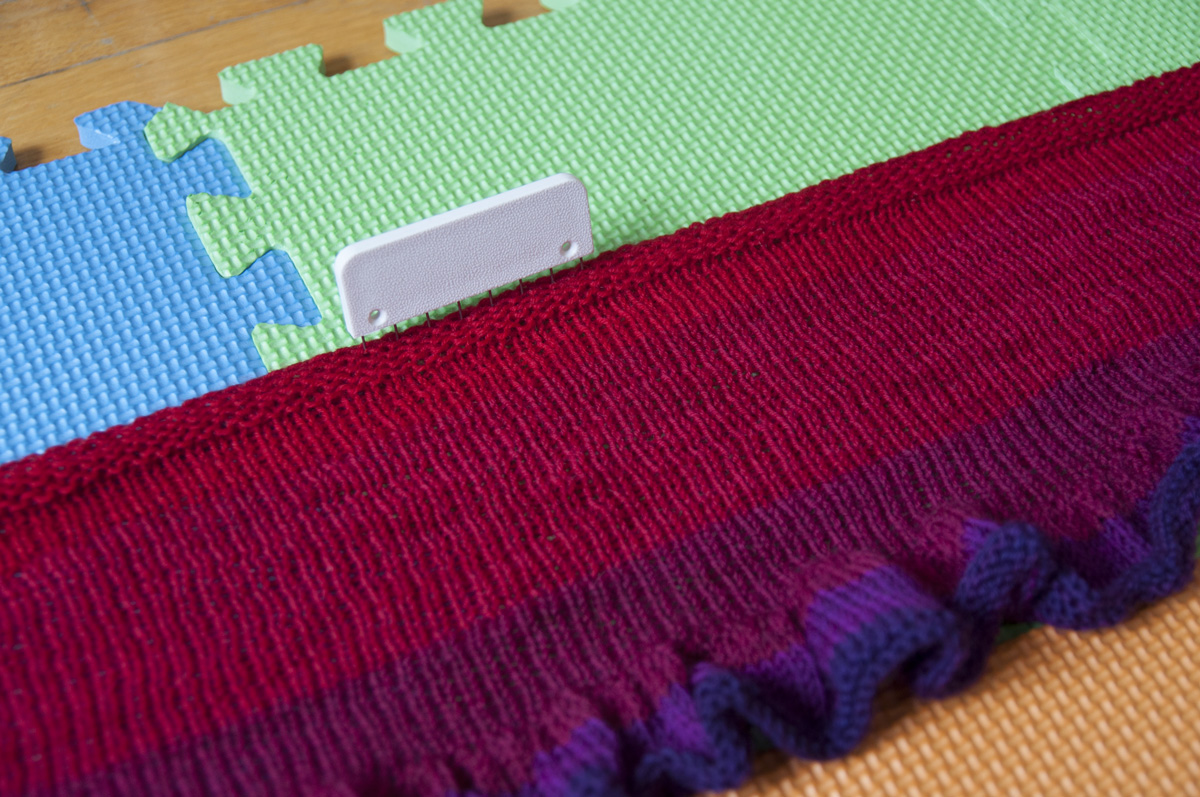
Knitter’s Pride sent me some of their Knit Blockers to try out, and they are awesome. Each large handle has 8 pins in it so you don’t have to go stabbing yourself repeatedly while pinning (or is that just me…) plus they’re great for getting straight lines.
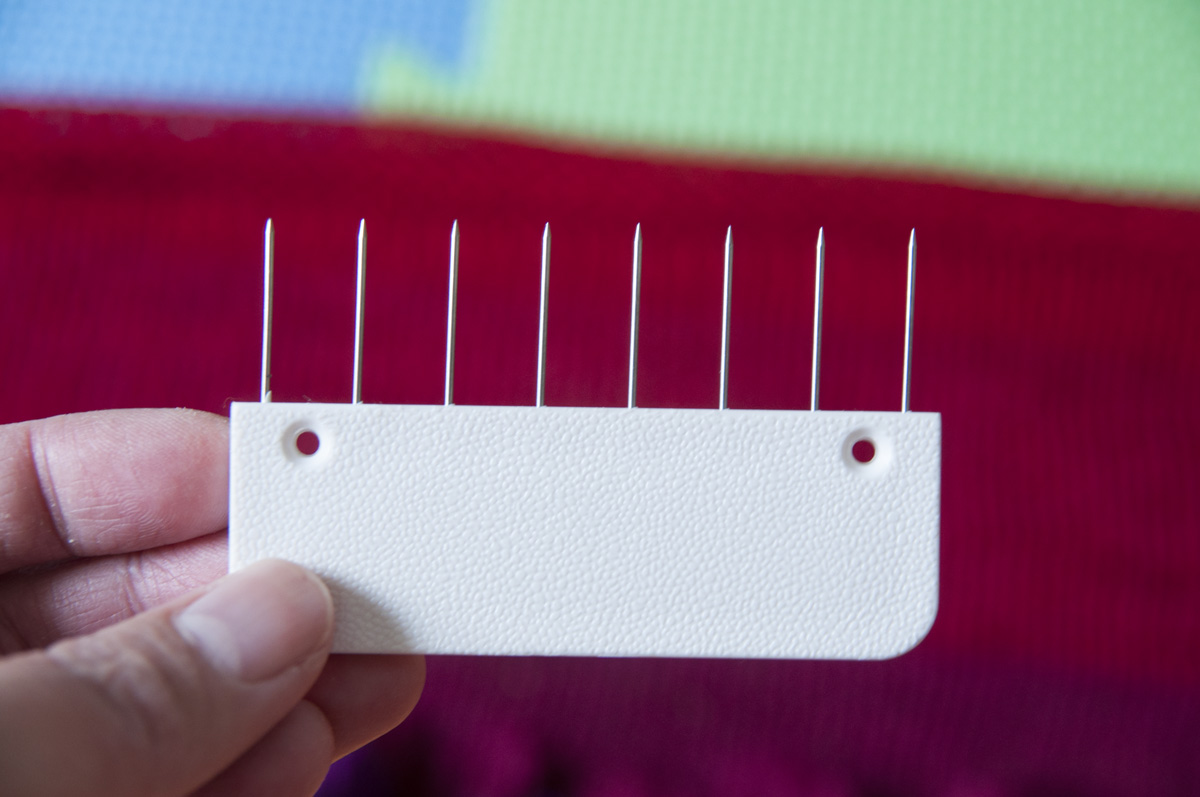
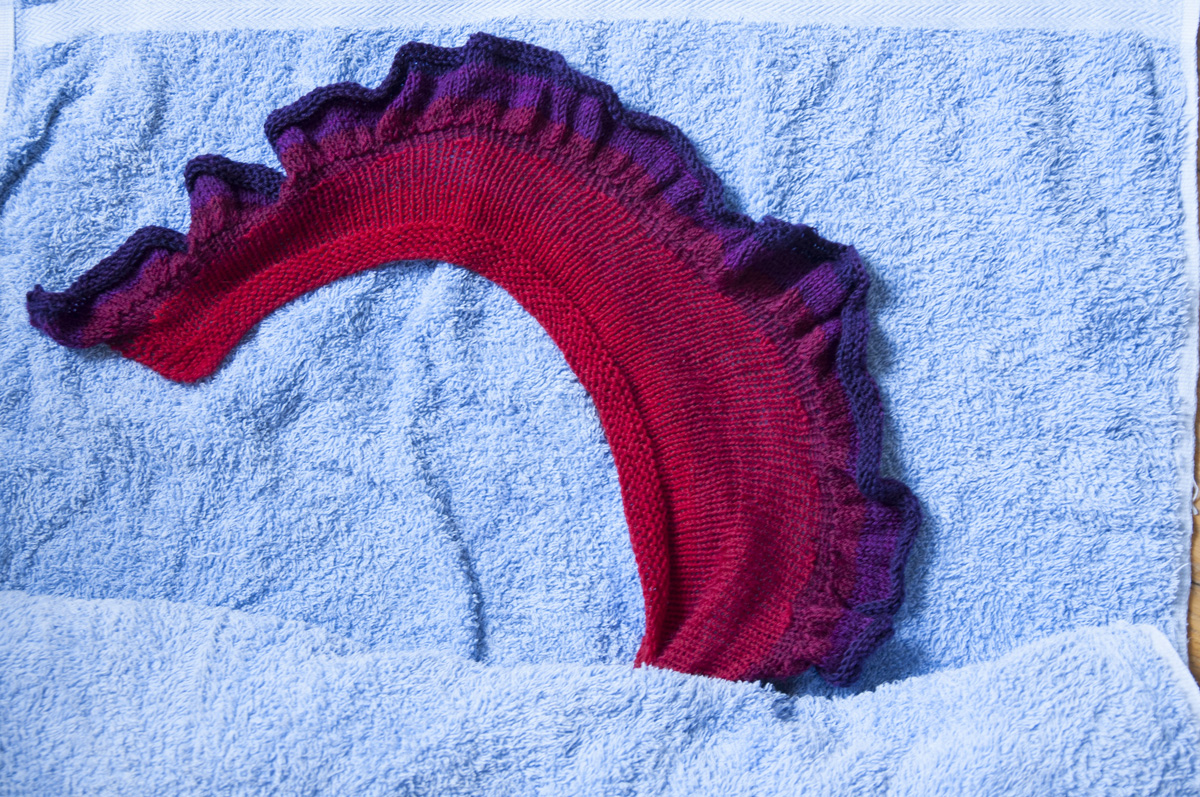
But do be careful, as they’re quite sharp! I used several Knit Blockers along the top edge to help it lay flat. If you wanted to stretch the edge to make it longer, the pins would be great to help hold it in place as it dries. For this project, I didn’t need to stretch it out as it relaxed quite nicely in the soak.
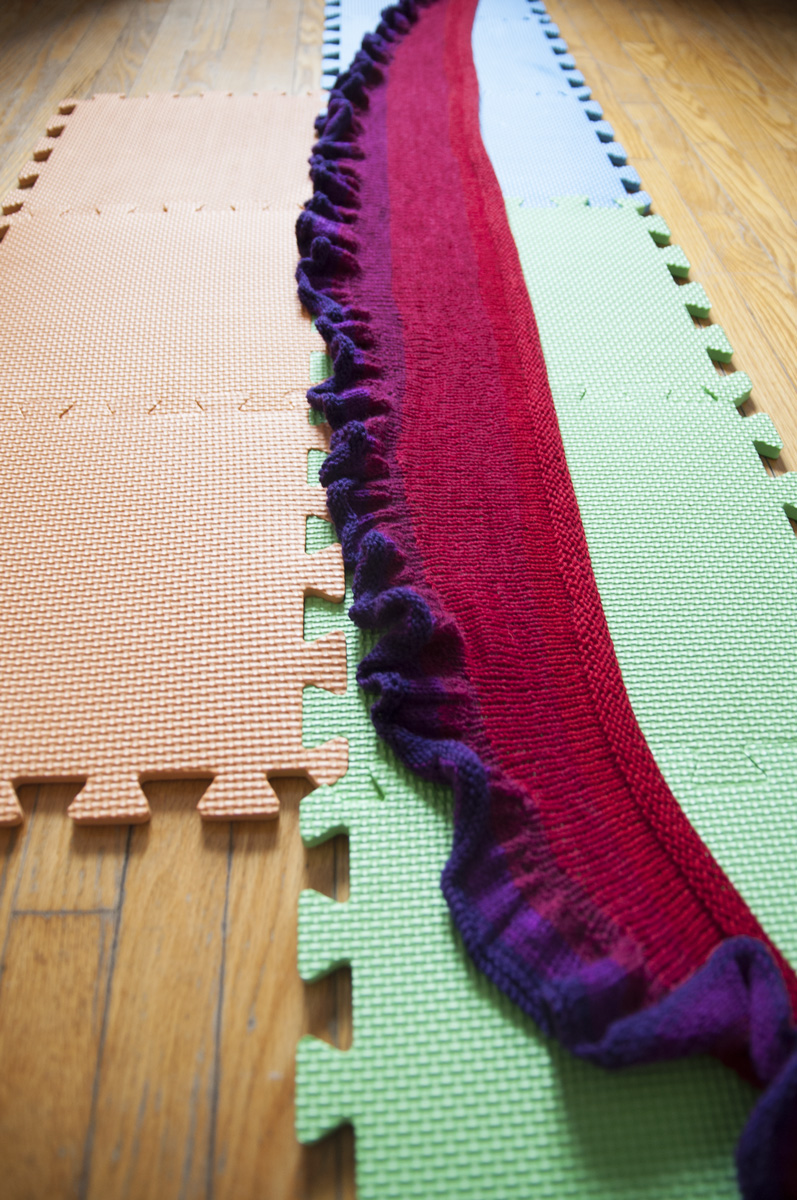
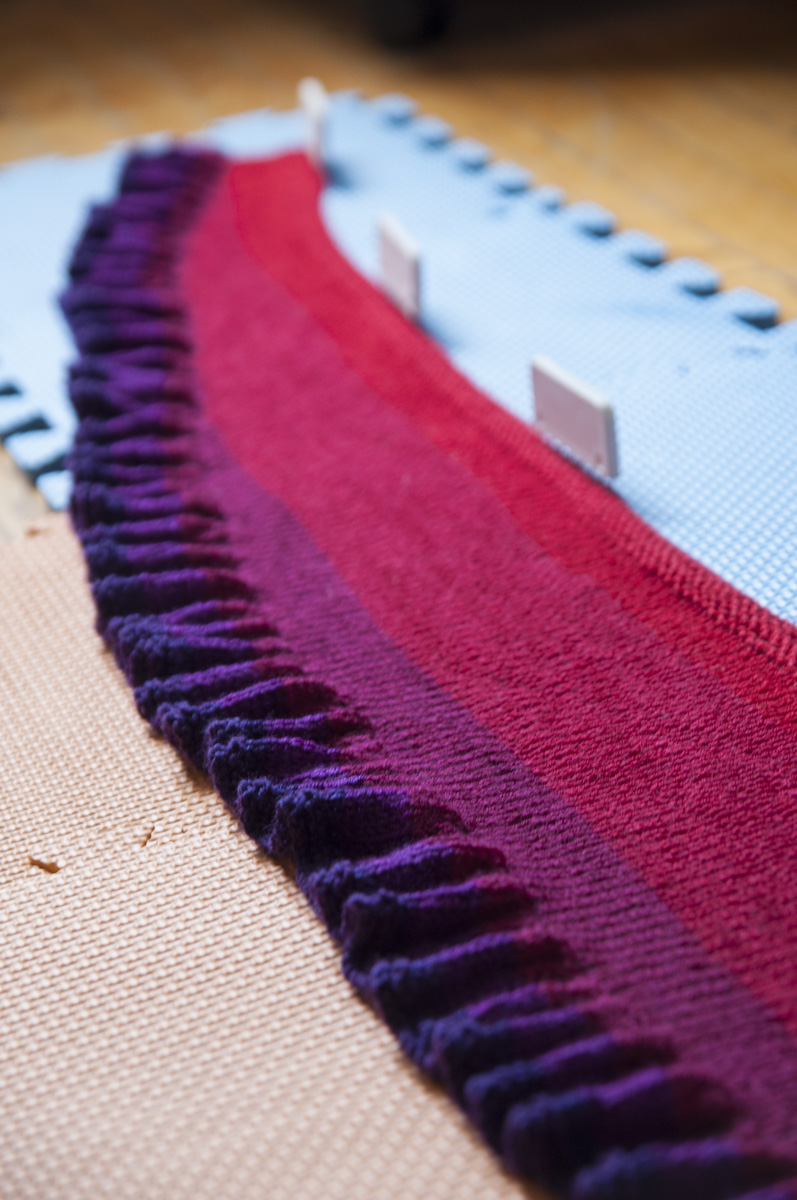
Next, onto the important part – the ruffle! Start at one end – see how it’s all messy and all over the place? We can fix that!
First I like to spread out the fabric a little at a time, so I can see the length and smooth out the bottom edge there.
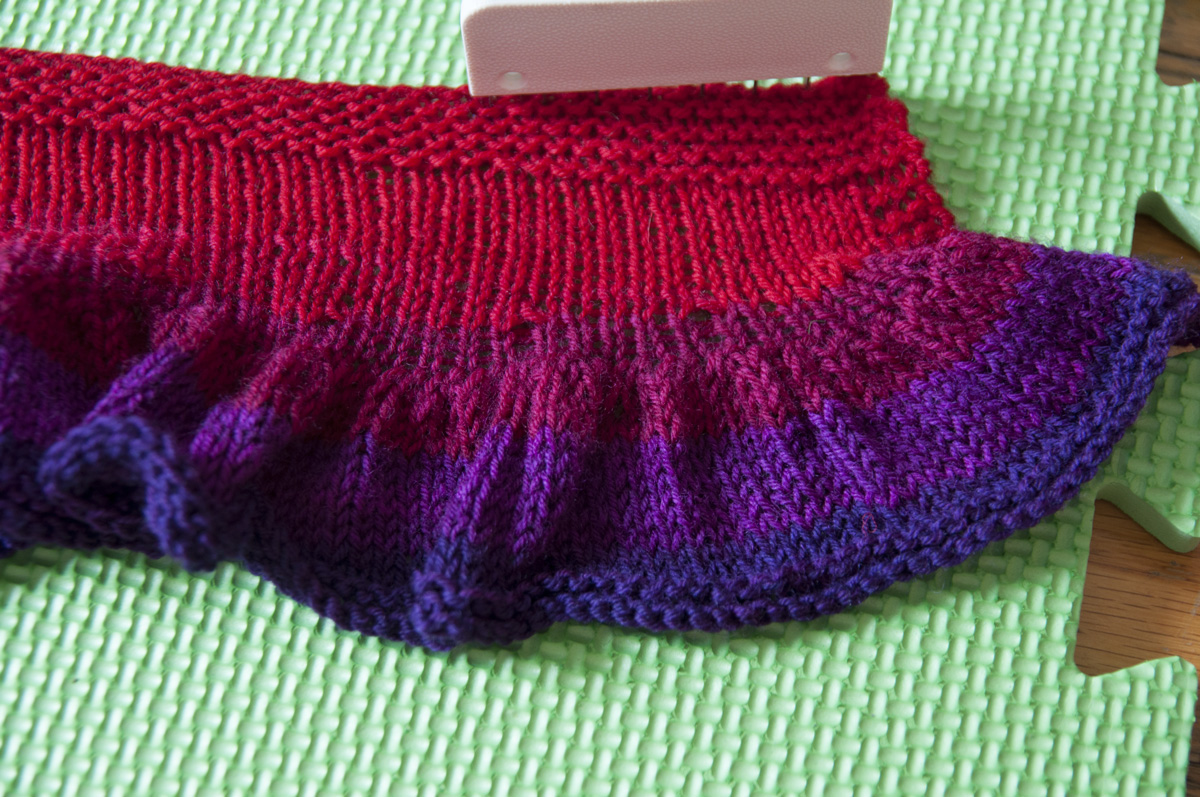
Then use your fingers to shape the ruffle into even-ish folds, like crimping pie crust!
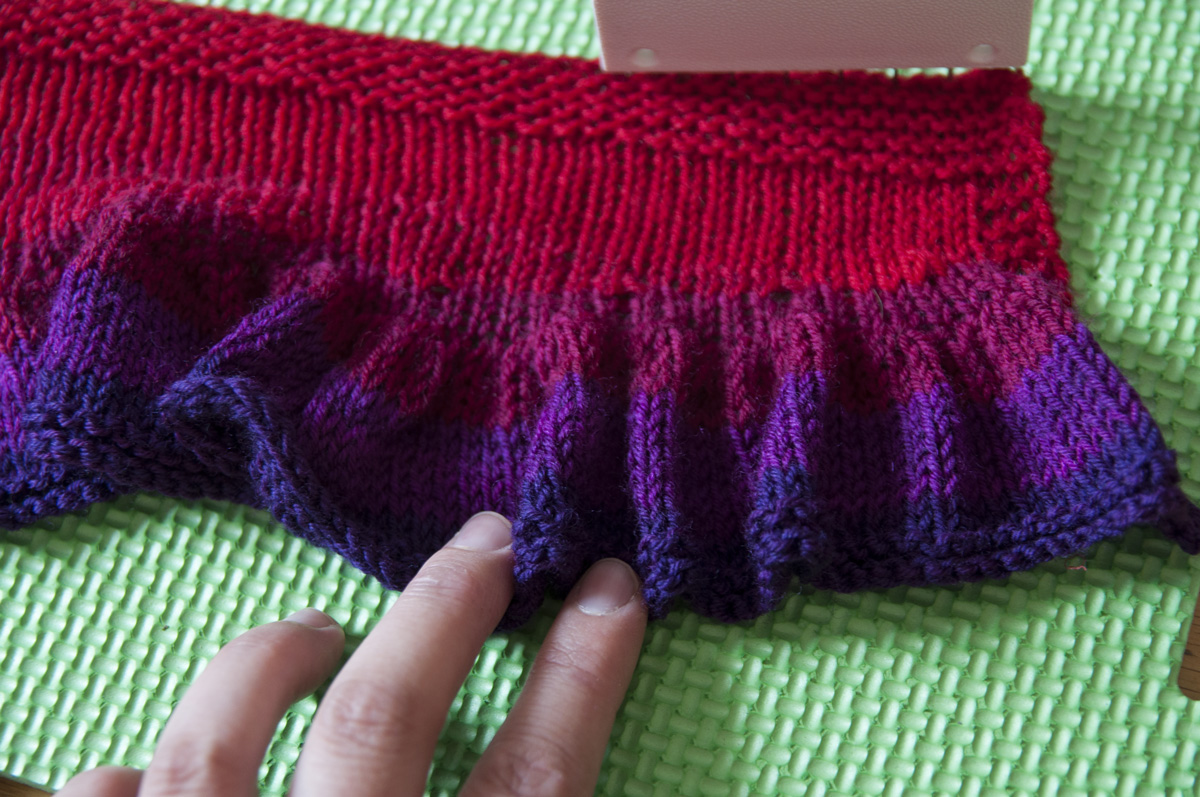
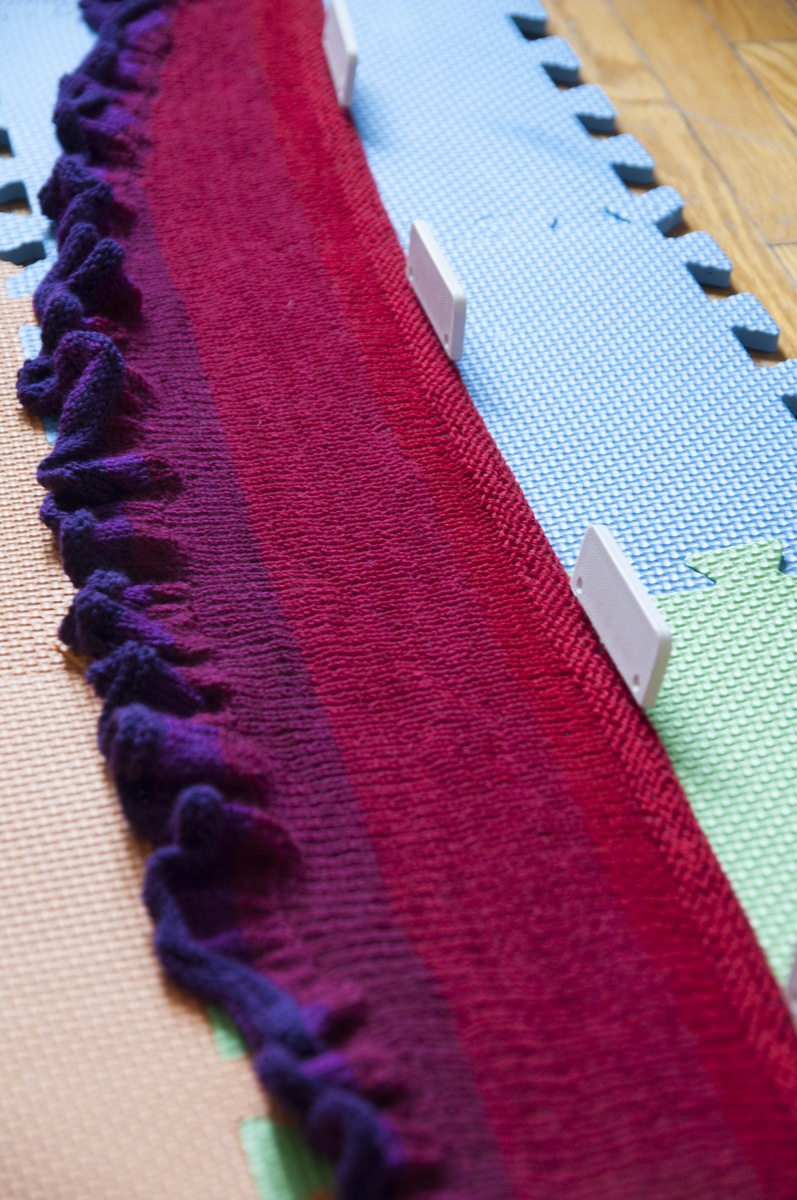
It certainly doesn’t need to be perfect – the ruffle will change and move when you wear it anyway, but we’re just trying to encourage it to lie straight at the bottom edge. On the left side of the photo is the un-shaped ruffle, with the shaped ruffle on the right!
I actually find this very satisfying work. The trickiest part is sitting on the floor to do it!
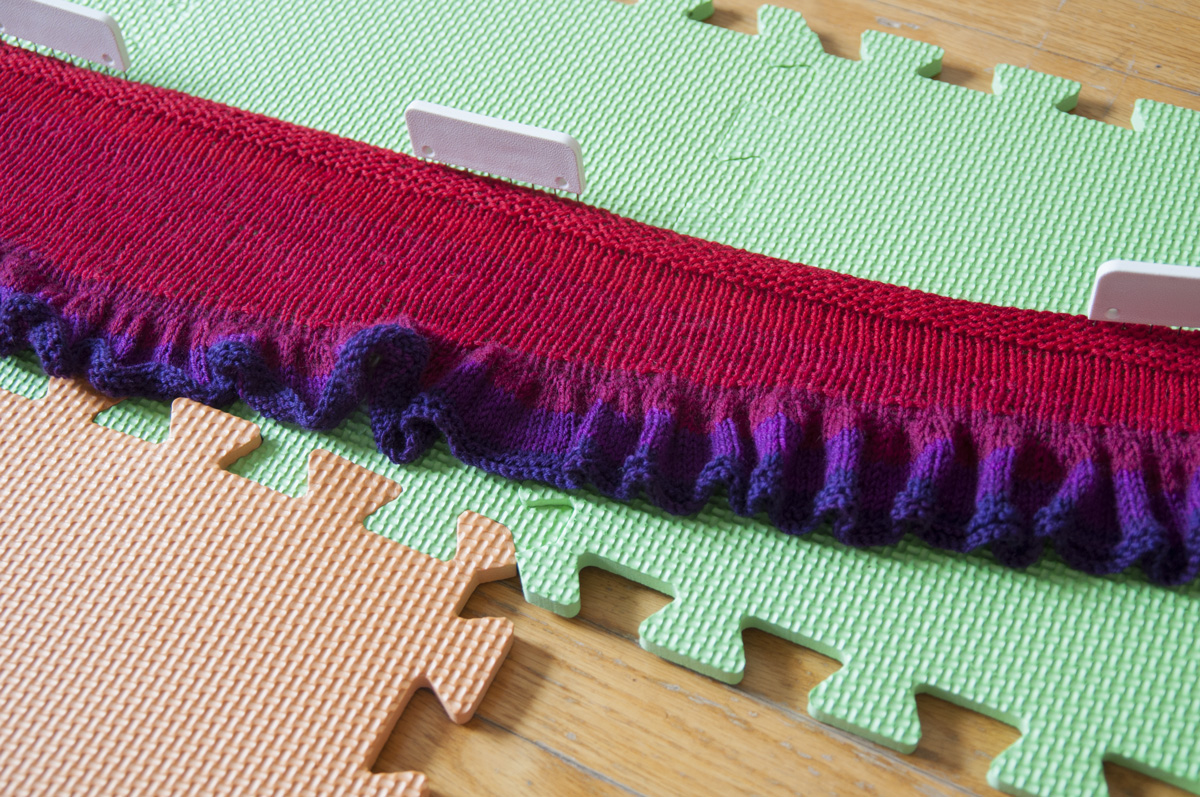
Not bad, eh? Once you’ve got your piece all laid out the way you like, leave it to dry. If it’s very humid or you need it to dry fast, try aiming a fan on it or using a dehumidifier in the room!
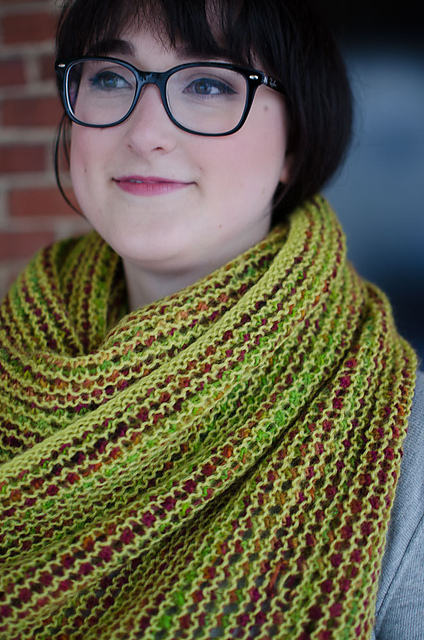
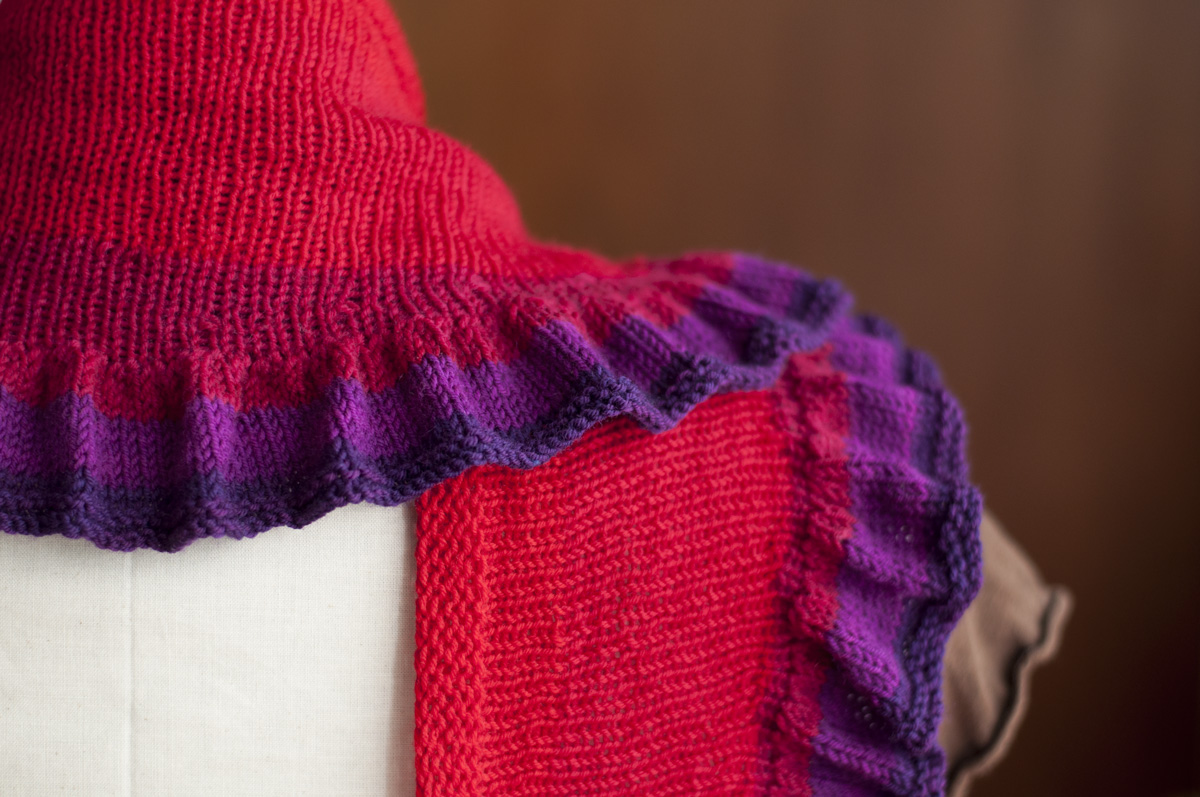
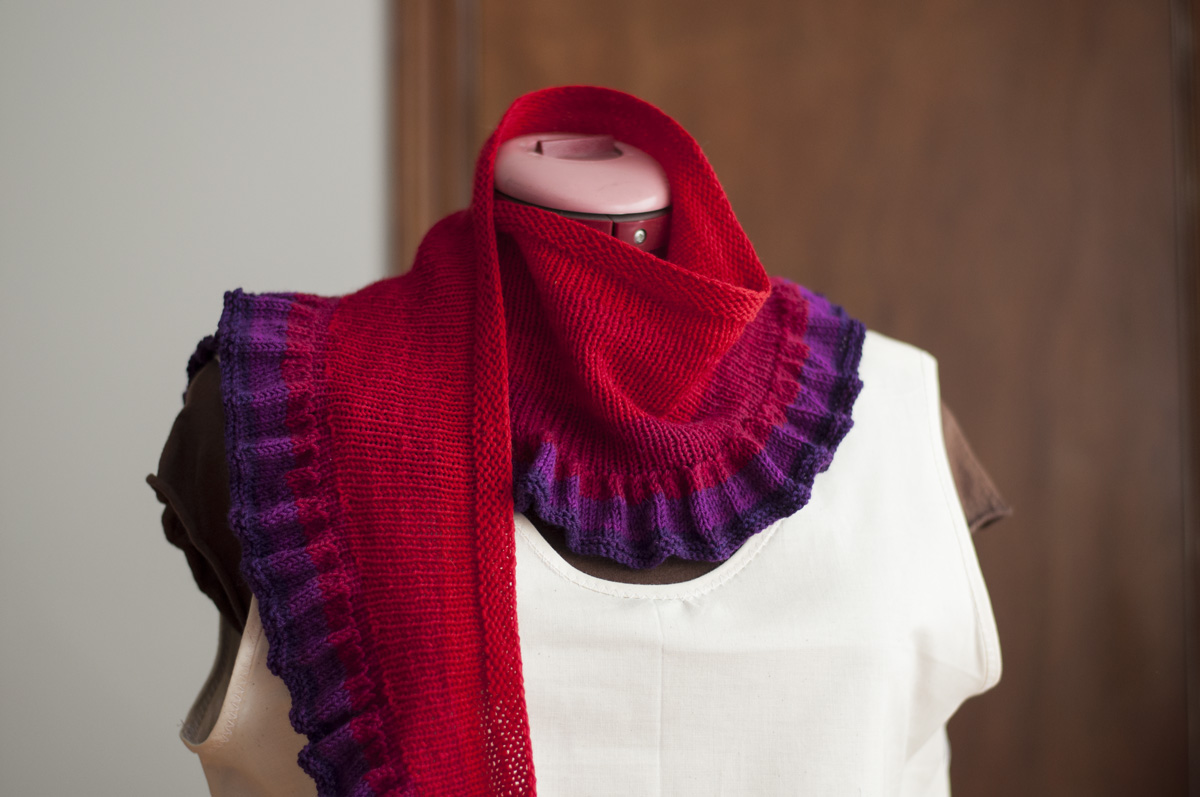
Here’s my finished JERL! Doesn’t that ruffle look awesome now?
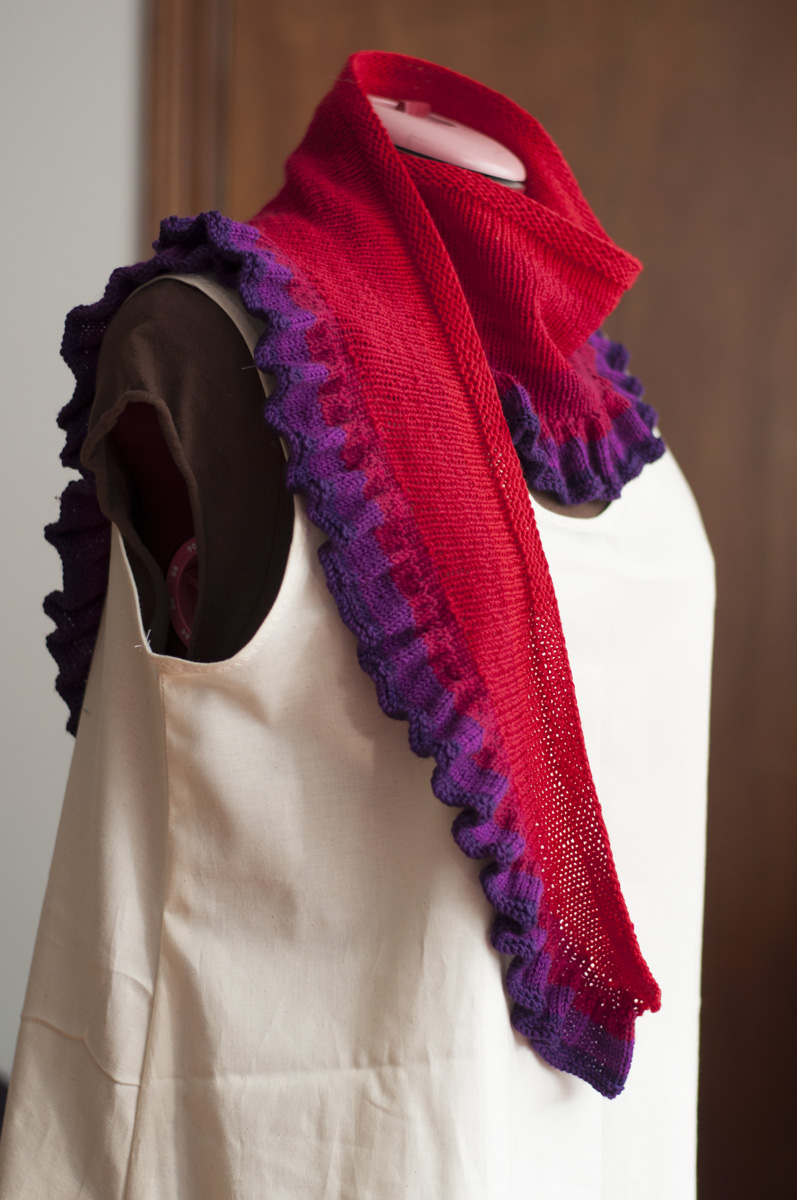
Pattern: Just Enough Ruffles Light, available on Ravelry
Yarn: Mountain Colors Perspectives Twizzle, Reds/Pinks
Needles: US 4 / 3.5mm circular
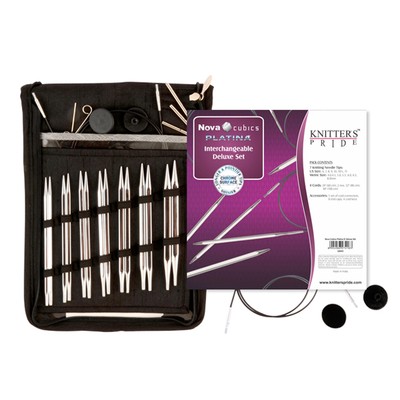
Time for one last BONUS giveaway! I have a set of Knitter’s Pride Nova Cubics Platina Deluxe interchangeable needle set to send to a lucky winner!
Comment on this post with a link to your Ravelry KPChauKAL project page or IG post to enter!
Closes a midnight Sunday August 23, 2015, and I’ll post the winner on Monday.
Thanks again to everyone who participated for making my first KAL foray a success!