
I’ve been using this rather untraditional method of writing out my knitting patterns (mostly sweaters) for several years now, and I thought it was high time I did a blog post about it! If you’ve used any of my sweater patterns from the last few years, or any of the patterns from Ysolda’s Little Red in the City book, you’ll have seen this style of using tables to organize sizes and pattern numbers (we were in cahoots on that one!). But if you haven’t used one of my sweater patterns and are unsure of how to do so, here’s my handy tutorial for using pattern number tables.
Most knitting patterns these days use something like this method of writing out different sizes: the smallest size is first, followed by other sizes in parentheses – sometimes broken up into more than one set of brackets, or using italics to provide a visual difference between sizes. This is very straightforward, and uses the minimum amount of space for each set of numbers.
32 (36, 40, 44, 48, 52, 56, 60)”
32 (36, 40, 44){48, 52, 56, 60}”
32 (36, 40, 44, 48, 52, 56, 60)”
But I love to write lots (and lots) of different sizes for my patterns to fit lots of people, so the brackets tend to become unwieldy pretty quickly.
30 (32, 34, 36, 38, 40, 42, 44, 46, 48, 50, 52, 54, 56, 58, 60)”
Yikes! So rather than forcing you to wade through the pattern and circle every number in every instruction throughout the pattern, I use tables. How?
Examples throughout this post are from my Levina Pullover. Click on each photo if you’d like to see the big version in a new tab or window.
Let’s start with the sizes.

The finished bust sizes are shown here, in inches and centimetres. Pretty easy to find your size, and to see the gaps between the sizes. This particular pattern has slightly fewer sizes than some of my sweaters, because of the large stitch pattern repeat. Size 41.75″ is 104.5cm.
Now for the yarn requirements:

This table follows the same format – so find your size at the top, and the yardage/metres are in the same column. For our example size of 41.75″, the pattern requires 1300 yards (or 1190m). Good so far?
Now for the actual pattern! Here’s an excerpt of the full pattern numbers table.

Find your size at the top of the table – 41.75″. All the numbers that apply to your size are in that column – you don’t have to search through a bunch of numbers inline throughout the pattern, they’re all in one place!

The letters circled in blue on the right indicate where the numbers should go throughout the pattern. There are a few ways to go about filling in the numbers for your size. You can print out the pattern and fill them in with a pen or pencil, or you can fill them in digitally on your mobile device with an app like Goodreader. If you’re especially savvy, you can use fill-in forms in Adobe Acrobat. Shhh – sometimes I just don’t fill in the numbers, and refer to the table in full.
Here’s the beginning of the directions, with numbers for our size 41.75″ filled in in red.

And here are the instructions for the sleeve increases.

So see how once you’ve filled in your numbers, you can focus only on the numbers for your size! The other numbers haven’t gone anywhere, as they’re still in the table anyway – so if you are altering the pattern to use parts of different sizes, or just want to see how the numbers differ between sizes, you can still do that too.
I also use tables for the schematic numbers, so that I can offer lots of measurements in imperial and metric, without cluttering up the schematic diagram too much and making it hard to read.

Obviously I love tables, so I also use them to help make AT THE SAME TIME instructions more obvious, and less easy to skip over and screw up. (This example is from Foxley.) I’ve defined each type of decrease row (Raglan, Sleeve, Neck) above this table, and you can see that each different instruction is actually on the same line, so you really have to read them all! Once you’ve filled in those numbers, it’s easy to keep track of.

So! That is a bit of in-depth info about the type of format I use in my knitting patterns. I’m well aware that it’s rather unusual, but I love it! It’s easy to edit, errors are rarely introduced once the tables are set, and it’s easy to use once you’ve got the gist. I don’t expect other designers to go adopting it, really (although I think it would be nice!), as it does take up a bit of extra space and graphic design doings. I still write patterns in the standard way for patterns I publish through other outlets, because that’s their style, but for my own self-published patterns this is what you can expect to see.
If you have any questions or comments, I’d love to hear them!
And since you made it all the way through this rather long post, here’s what I made this weekend:
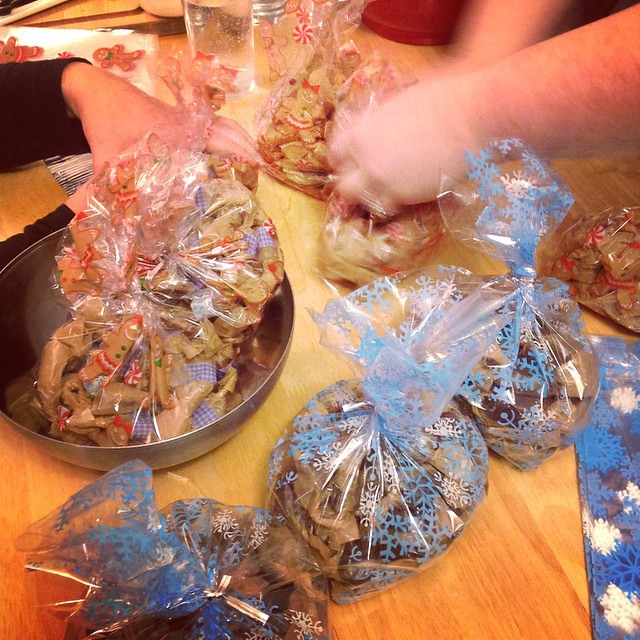
Four kinds of caramels (with help, wrapping takes forever!): Vanilla with Himalayan salt, chocolate (these turned out a bit greasy), bourbon with Himalayan salt, and Apple Cider caramels. The caramels are all a little more on the firm side this year after last year’s gooey ones, but it’s all good. I think the gals and I made at least 300 pieces.
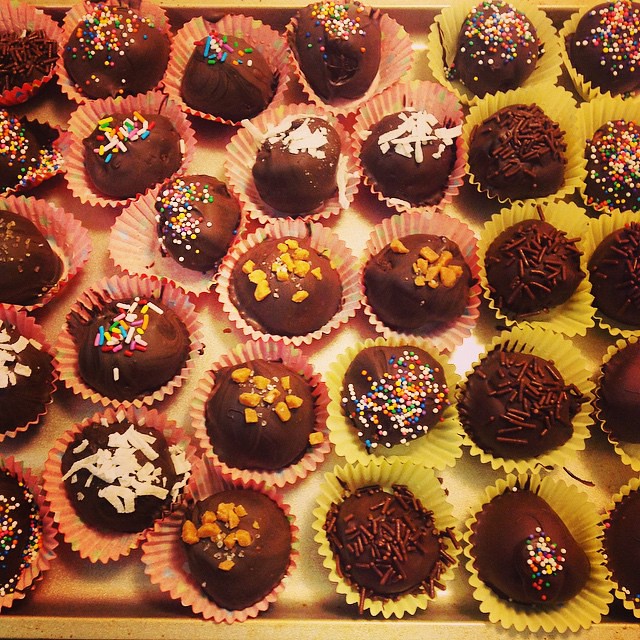
And then yesterday we made truffles! I used this recipe from King Arthur Flour and flavoured half of the filling with Grand Marnier. I dipped them in tempered chocolate and then Dale did the toppings quickly before they hardened – the Skor bits + sea salt one was particularly inspired! They’re a bit on the big side, I think I need a tiny scoop to make them. But now I’m dreaming of so many flavours! nom nom nom.
Leave a Reply to Joan Cancel reply